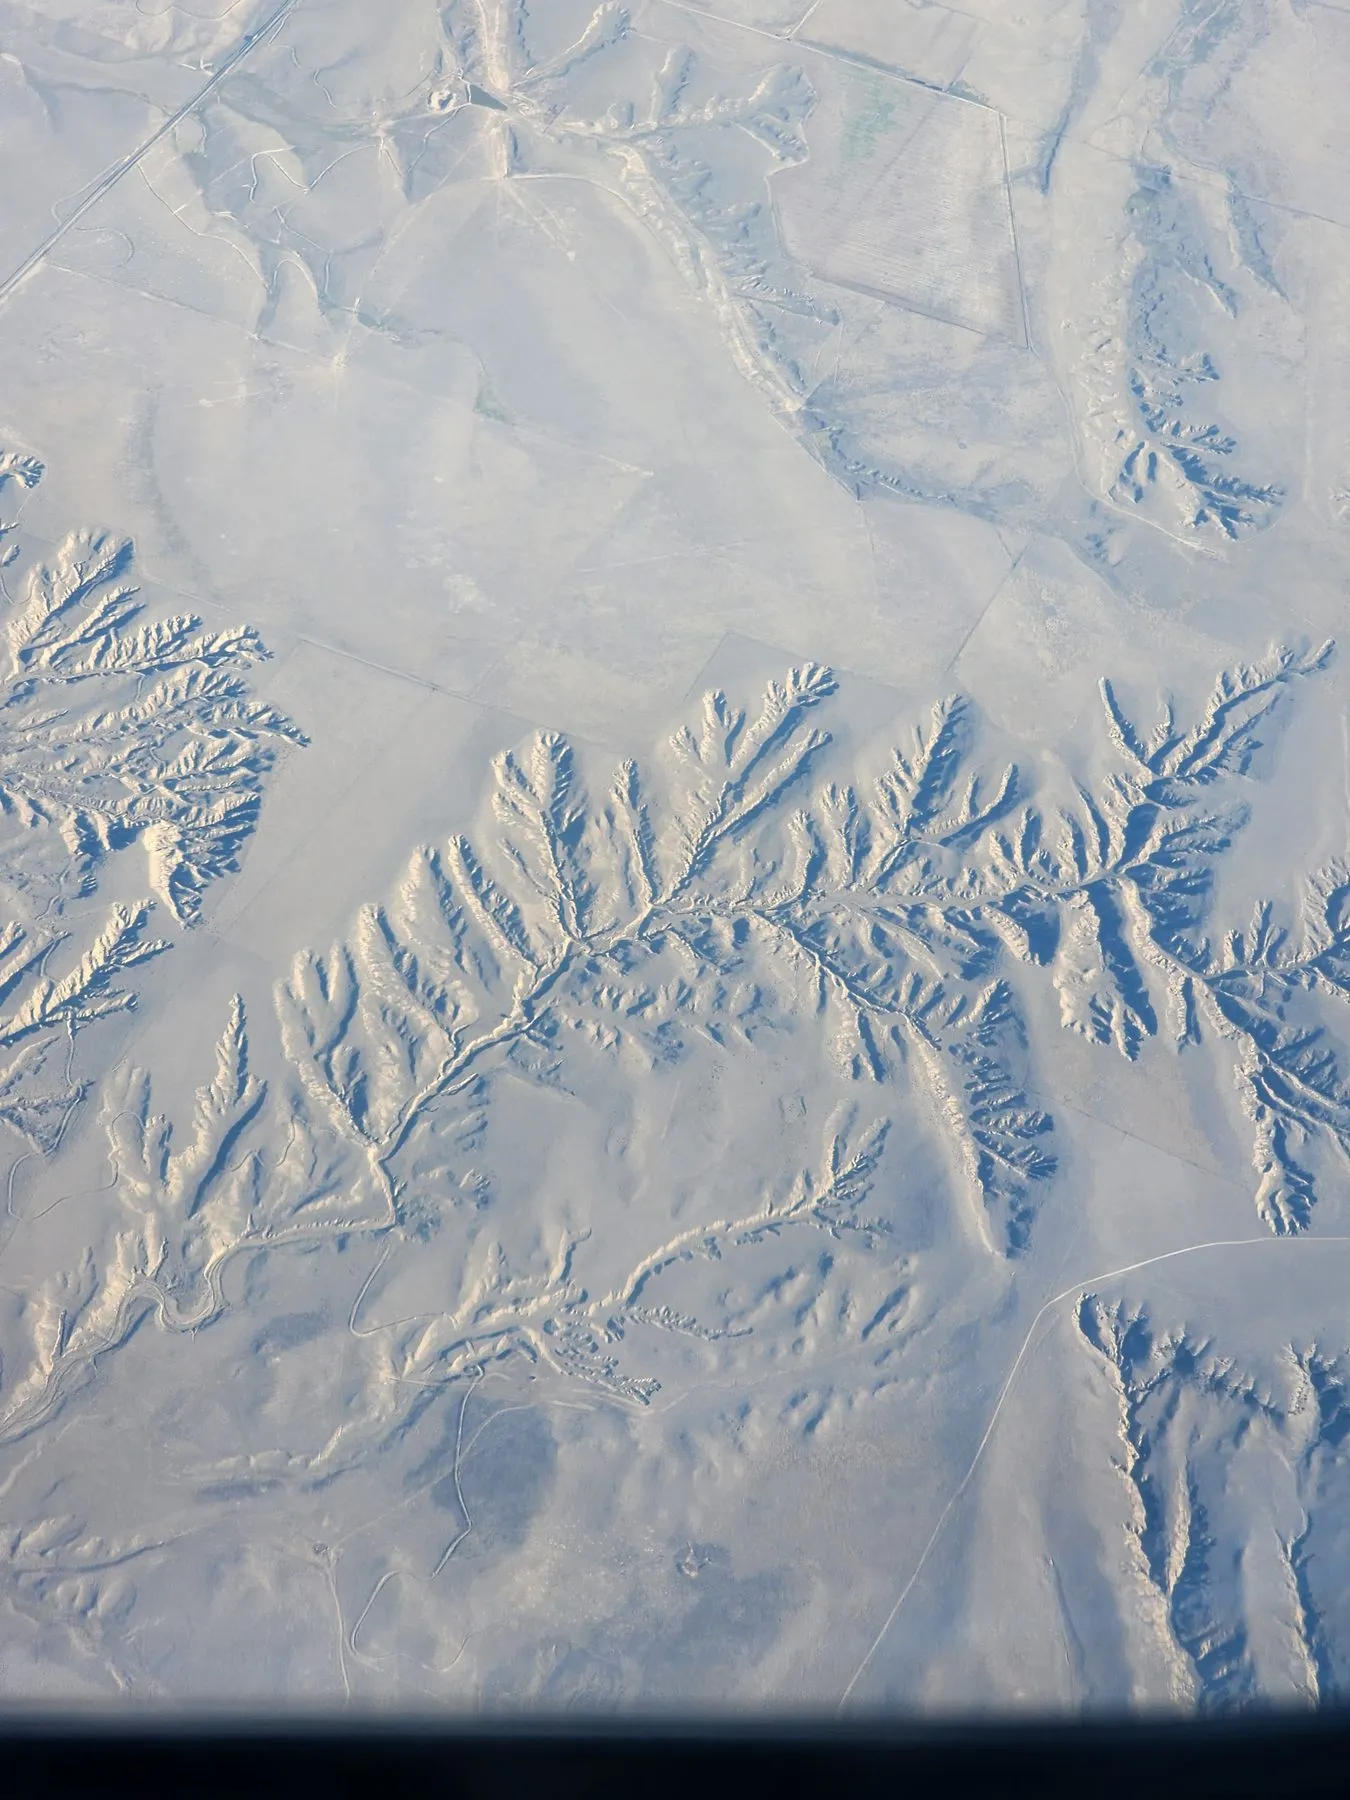
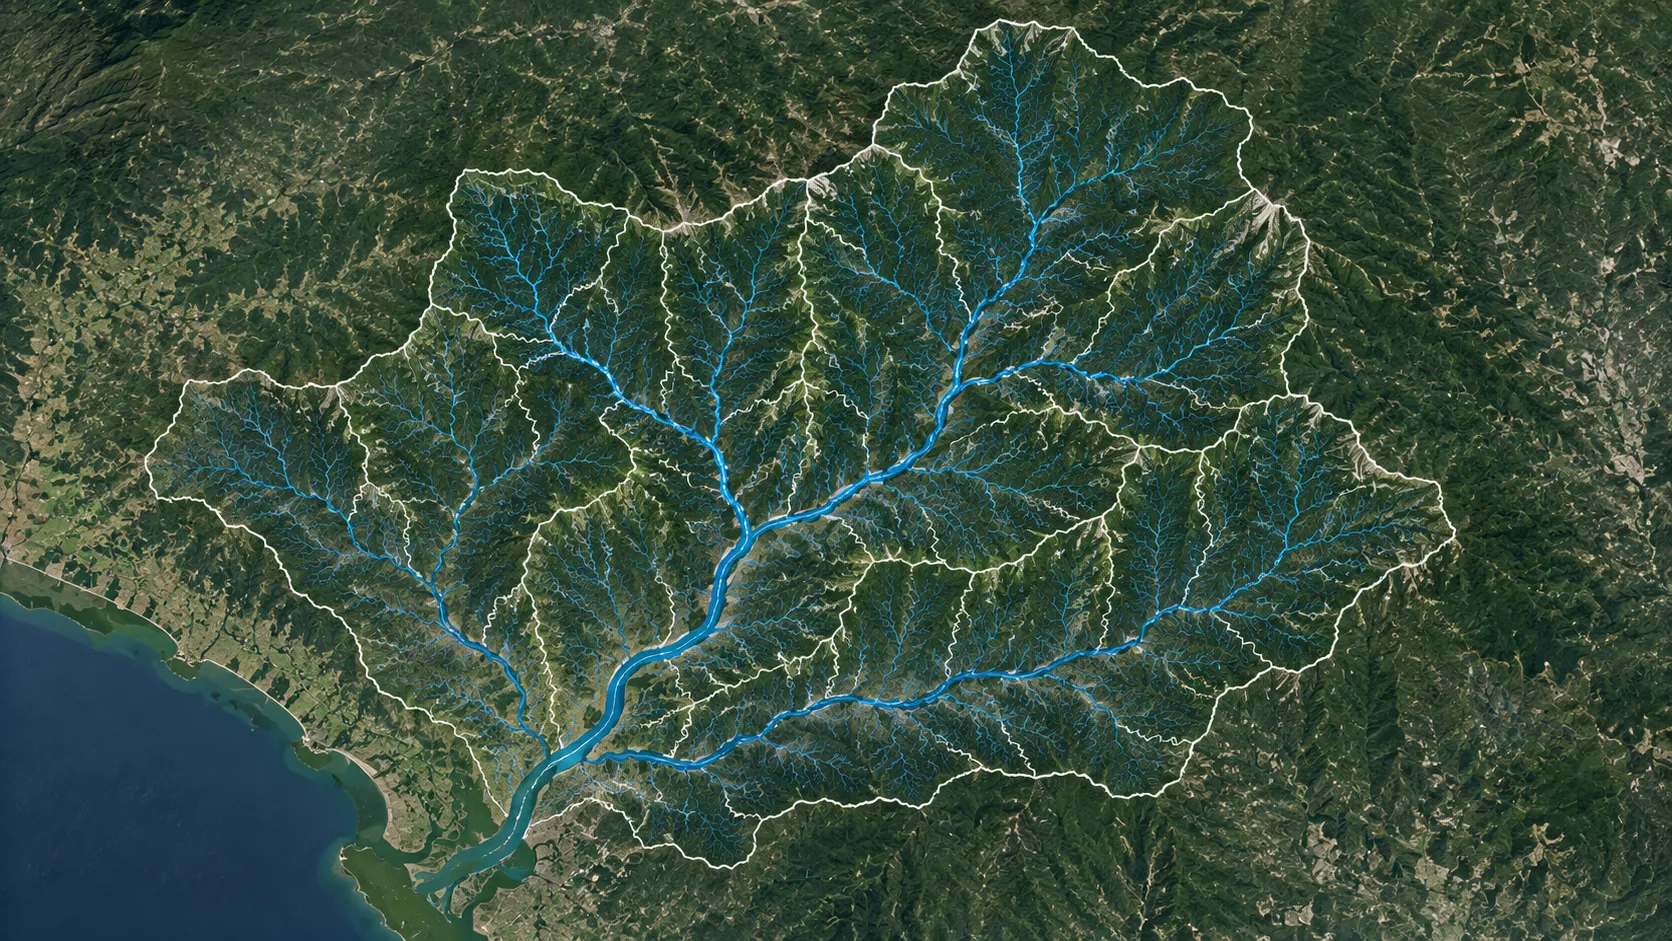
// the process

How watershed delineation works

Five steps. The first four are the math; the fifth is the cleanup.

  1. 01

    Get a digital elevation model (DEM)

    A DEM is a grid of land-surface elevations. It is the foundation of any watershed analysis because it tells you the shape of the terrain and, from that, where water can flow.

  2. 02

    Compute flow direction

    From the DEM, work out which way water moves from every cell to its lowest neighbor. The result is a grid where each cell points to the next cell water would flow into.

  3. 03

    Compute flow accumulation

    Add up, for every cell, how many upstream cells drain into it. High accumulation values trace out the stream network; low values are the ridges and hillslopes.

  4. 04

    Trace the watershed boundary from an outlet

    Pick an outlet point (a stream gage, a bridge, a culvert) and walk the flow grid back uphill. The catchment is every cell whose water eventually passes through that outlet.

  5. 05

    Refine for lakes, reservoirs, and structures

    The first pass assumes natural flow. Refine the boundary where lakes, reservoirs, levees, road embankments, or other structures change how water actually moves.

// why it matters

Why we delineate

Watershed delineation underpins a lot of environmental management and planning work: flood risk assessment, water quality monitoring, erosion control, infrastructure design, and land-use planning. If you can name the catchment for a given point, you can reason about what drains there, how fast, and what changes upstream will do to it. GIS software and hydrologic models make the process routine; the concepts behind it are pure physical hydrology.

// archydro walk-through

Watershed delineation with ArcHydro in ArcGIS Pro

ArcHydro is a free Esri toolset for water resources analysis in ArcGIS. It bundles the operations you need for watershed delineation into one workflow.

The video below walks through every step from the raw DEM to a clean watershed boundary, with timestamps for each tool. The chapter index under the video links straight to the corresponding moment, so you can jump to whichever step you need.

Download ArcHydro from Esri Free; requires ArcGIS Pro.
// related videos

Useful companions

A few short videos that pair well with this workflow. The Curve Numbers and design rainfall sit alongside the catchment on the Getting Started with HEC-HMS page.

Watershed delineation with the ArcGIS Pro built-in tools
Download and process soil data for your watershed
Download and process land use and land cover data for your watershed

Questions on a specific step, or a topic to cover next? Email me. More tutorials are on the tutorials page, and recorded course lectures are on the teaching page.

← Back to all tutorials